Alerts Web Part
Overview
The Alerts web part is a easy way to display messaging in a specific page, giving a set of configuration options to tailer the message.
Installation
Installation Steps
To install LiveTiles Alerts, follow these steps:
Install the app in either your SharePoint tenant app catalog or in a site collection app catalog.
Go to the SharePoint site where the LiveTiles Alerts web part should be installed.
Add the app LiveTiles Alerts to the site.
Create a new page or go to an existing page where you would like to add the LiveTiles Alerts web part.
Click Edit to edit the page.
Click the + and search for the LiveTiles Alerts web part.
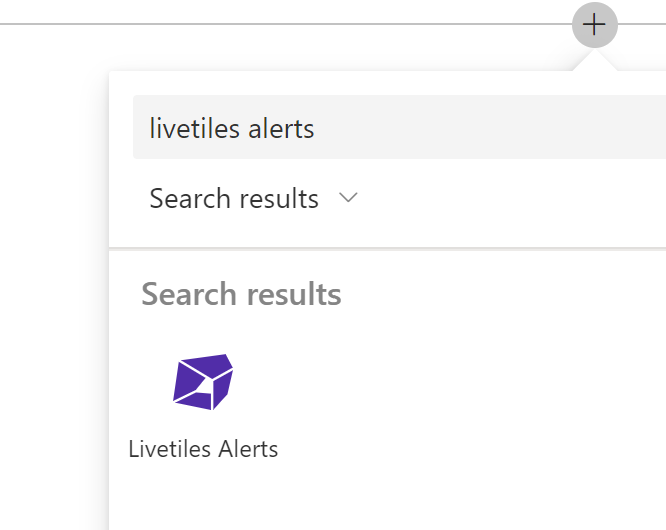
Select LiveTiles Alerts and then continue to Set-Up to configure the web part.
Set-up
When the web part has been added to the page, the webpart is empty.
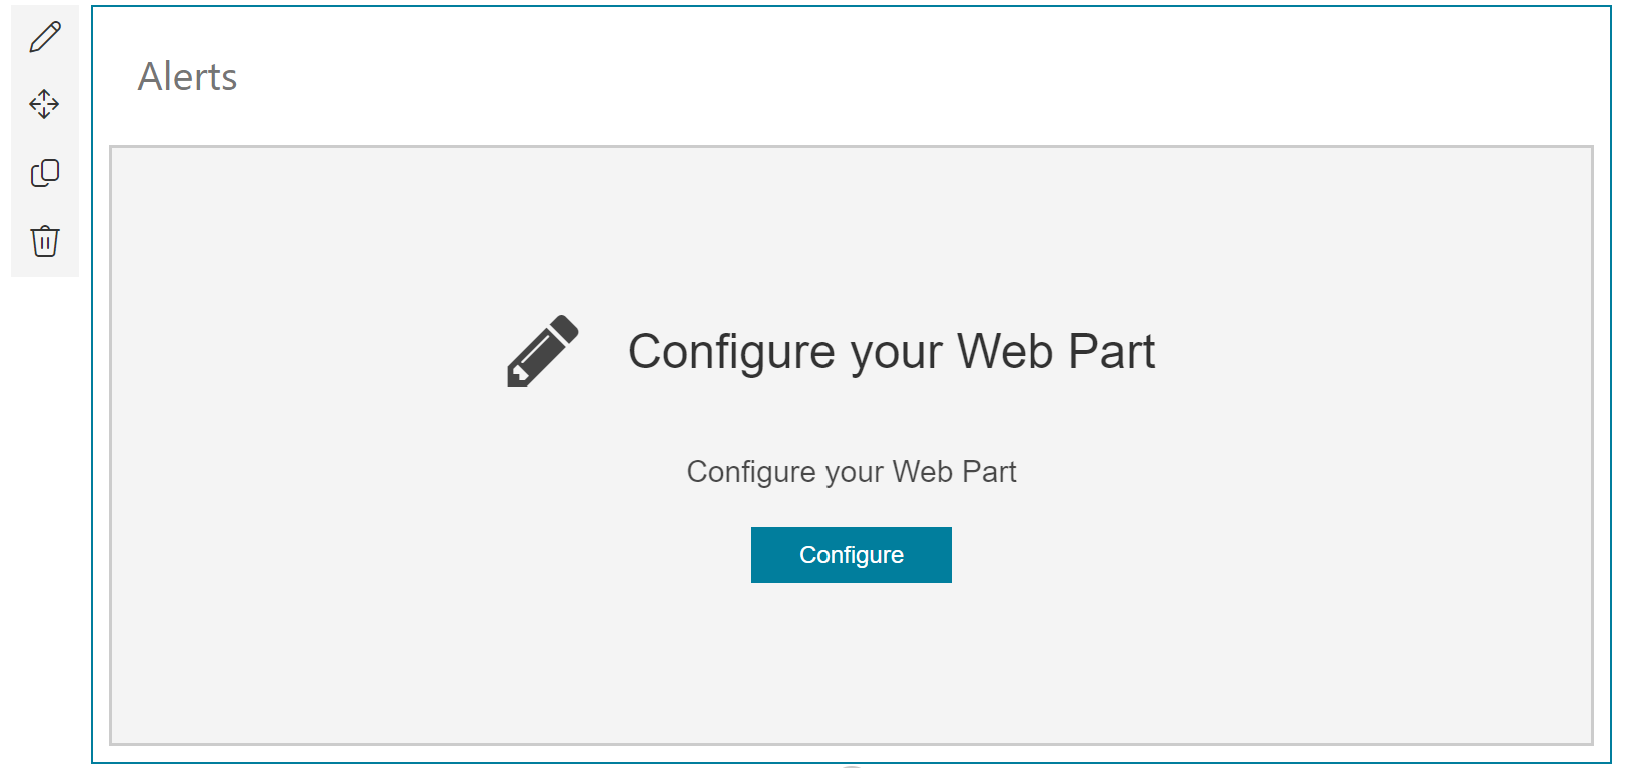
Click the Configure button, alternatively click on the pencil icon to the left to configure the web part.
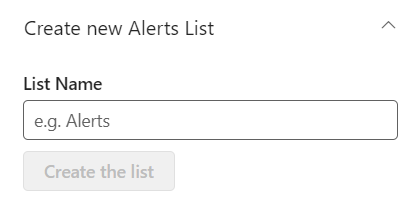
Create New Alert List
Click the Create a new Alert List tab to show the option to add a list. It will create a list from where the messages will be saved.
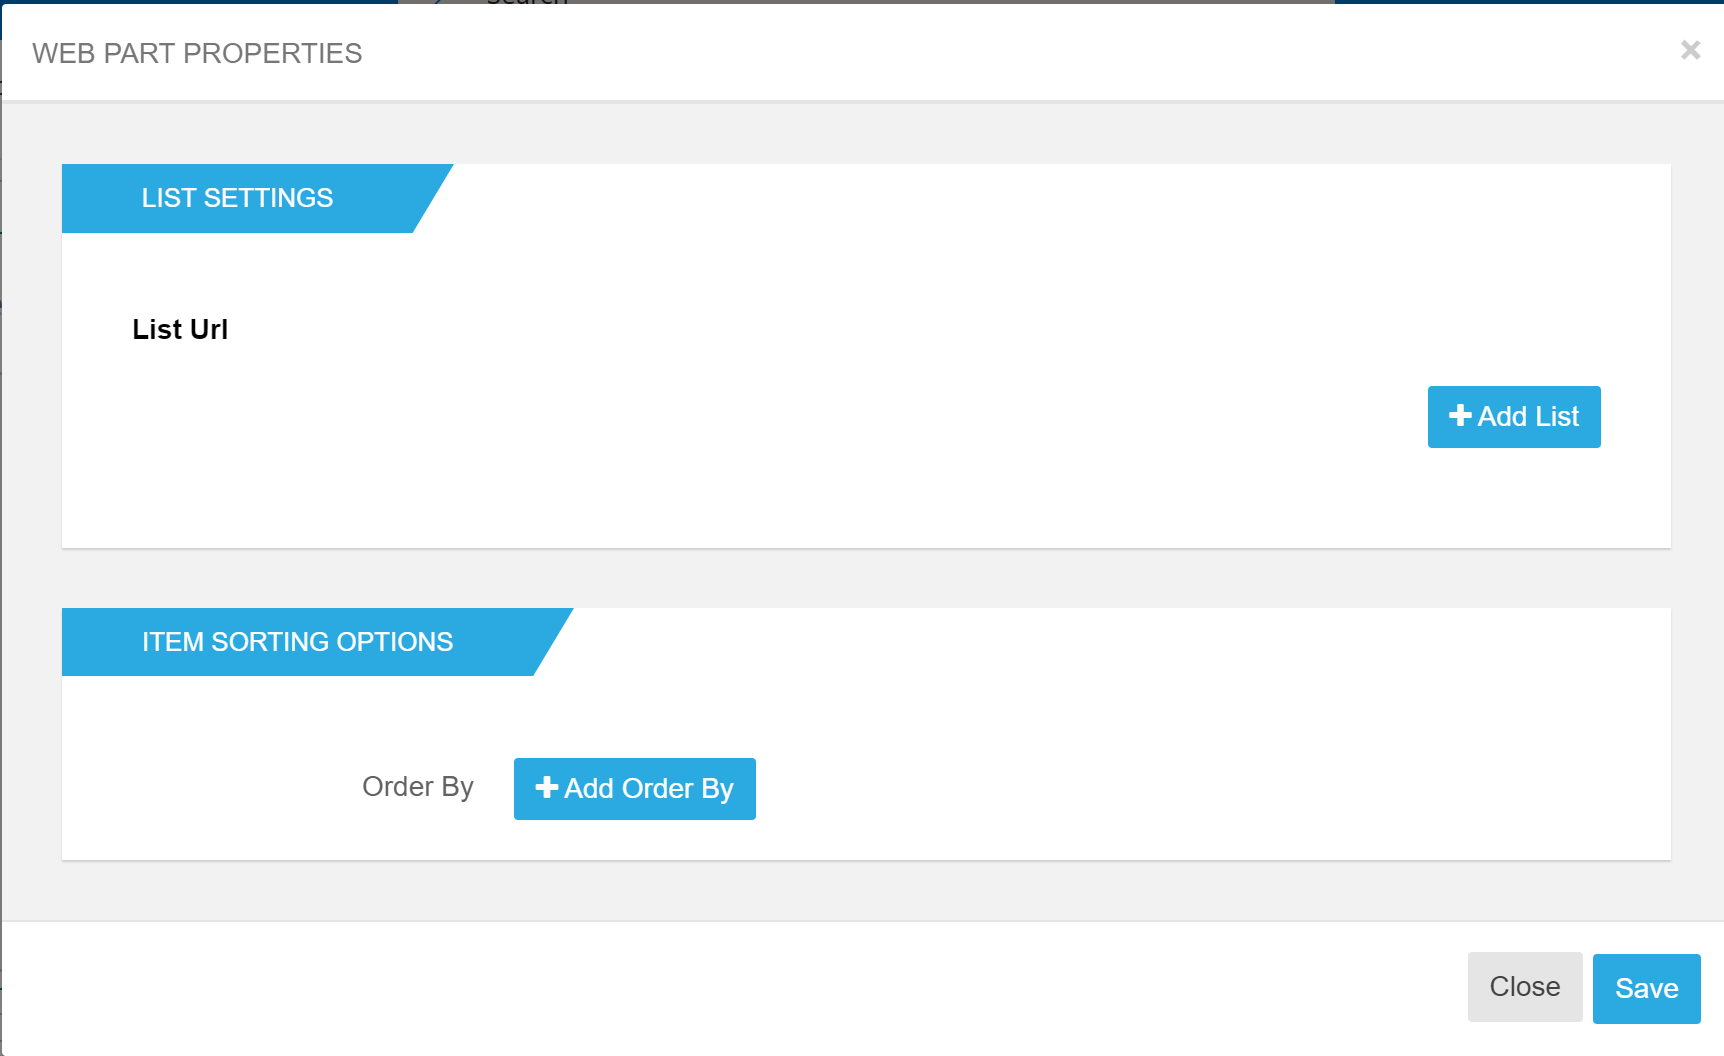
List Settings
Click the List Settings tab and then click Manage Lists. This way if there is an existing list with messages we can reuse the content.
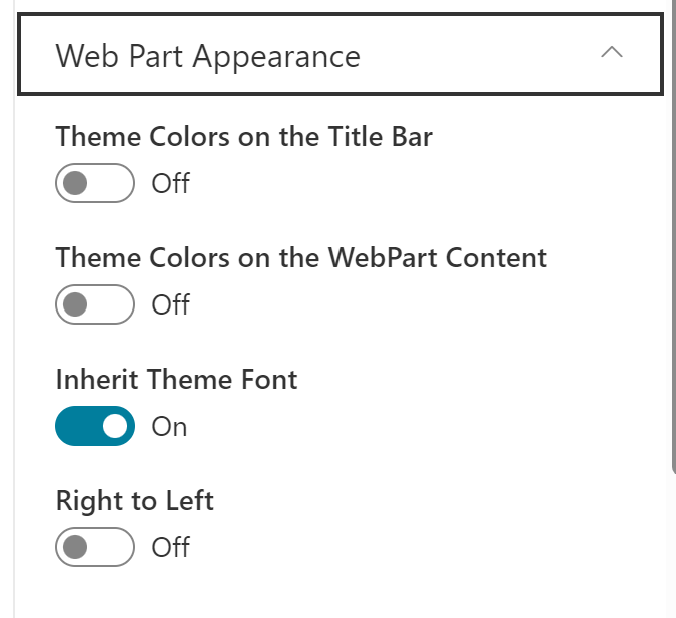
Web Part Appearance
Click the Web Part Appearance tab enables to changes the look of the web part.
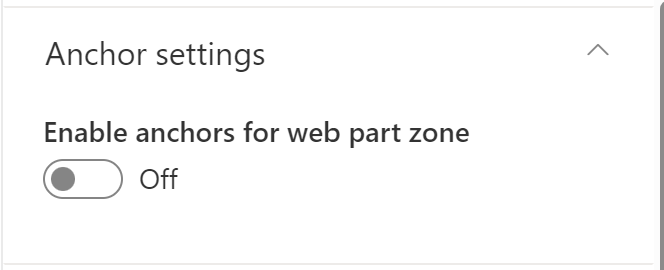
Anchor Settings
Click the Anchor settings tab lets enables achoring for the webpart.
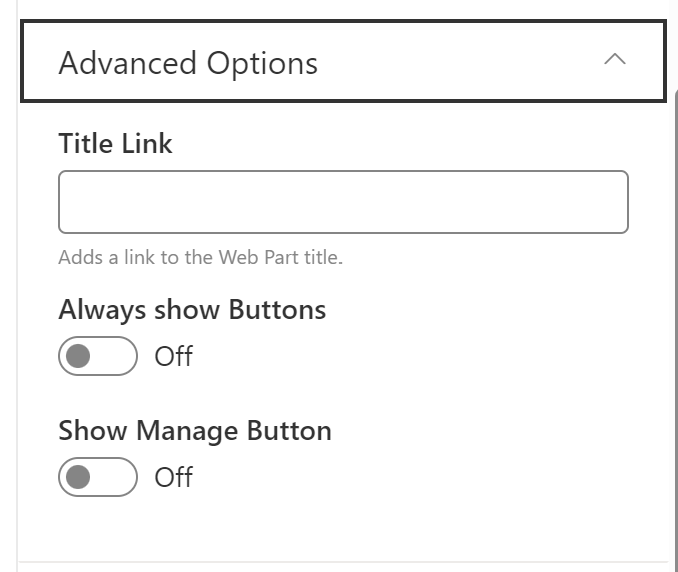
Advance Options
Click the Advance Options tab to show options to include managed buttons or even include a hyperlink to the title.
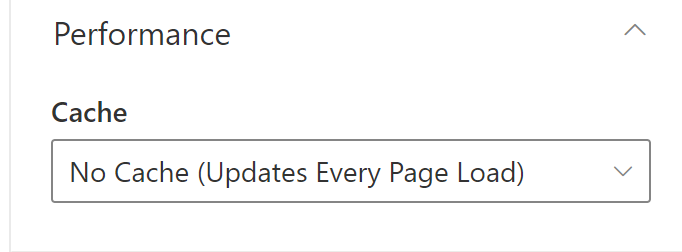
Performance
Click the Performance tab to select what type of caching to use.
Web Part Messages
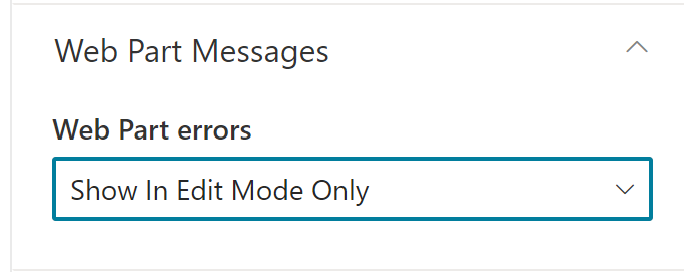
Click the Web Part Messages tab to select how to display error messages.
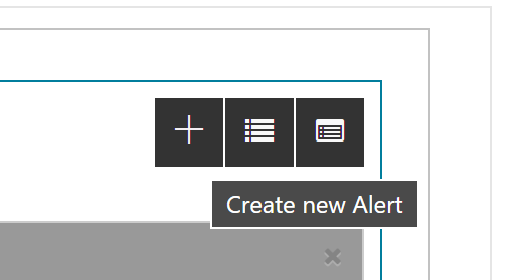
Add New message to Web Part
- on the webpart click on Create new Alert as shown in the image
- From the window, it is now possible the add a text and configure the styling and other notification settings. When the desired changes are done we can then Preview to check how it looks and Save to finish editing.
